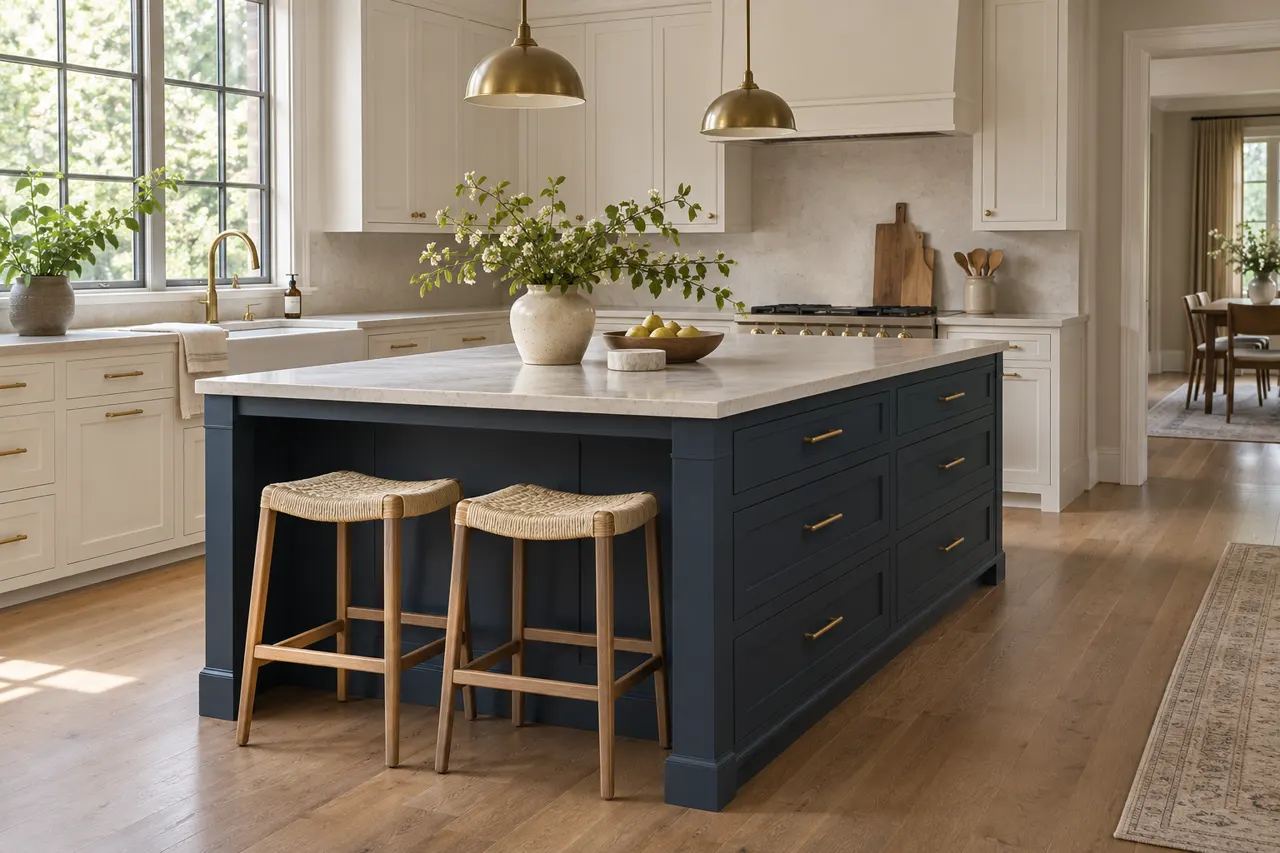
Keep the island surface useful after equipment is placed
A countertop can lose its intended working space when equipment is added. Show the objects that will remain there.
A photograph of a clear island top can be misleading if the finished surface will hold a coffee maker, fruit bowl or other permanent objects. List those items before allocating the remaining working patch. Compare relocating them with increasing the island's size.
- Objects: List what stays on the surface.
- Preparation: Identify the clear working area.
- Landing: Mark where items are set down temporarily.
A larger top is one response to crowding, while relocating equipment is another. Compare both before increasing the footprint. Show the intended surface use alongside the cabinet layout.
Compare an island with a peninsula
The room may support more than one way to add a working surface. Compare an independent island with a connected peninsula using the same tasks.
Ask for a separate description of the worktop, its support and the party responsible for it. Cabinet storage and the surface above it are related but distinct parts of the order. Keep their boundaries clear when comparing an island cabinet quote with a wider kitchen proposal.
- Approach: Show how the room is entered.
- Task: Use the same preparation brief for both options.
- Storage: Compare the accessible cabinet contents.
An island permits movement around several sides, while a peninsula creates a different route. Choose from the actual floor plan rather than a preferred photograph. Have the selected arrangement and its connection to the room documented clearly.
Separate seating from the working side
Discuss where people sit and where food is prepared. The two sides can need different cabinet and countertop arrangements.
List the seating you actually expect to use, including the stools. A countertop projection does not describe where an occupied seat ends or how someone approaches it. Test those positions alongside the main route before making seating the reason for increasing the island footprint.
- Seats: State the intended seating position.
- Work: Identify the preparation side.
- Access: Check nearby storage openings.
Adding stools changes the way the surrounding floor is used. Review that occupied space rather than only drawing the countertop edge. Identify seating, support and working-side cabinet details separately.
Consider the island end seen from the room
The exposed end may face dining or living space. Decide whether it needs a finished panel, storage or another treatment.
The island end seen from the living area may need a different treatment from its working side. Compare an accessible cupboard with a finished panel using that view. Extra storage is worth including only if its opening and contents remain practical in the surrounding room.
- View: Photograph the adjoining room.
- End: Identify the visible surface.
- Task: Decide whether that side needs storage.
A storage end offers capacity but requires access, while a closed finished panel gives a different effect. Review the side as part of the whole room. Identify the end-panel product and any storage included on that elevation.
Discuss fixing and support in the island scope
The island's construction and installation need to suit the proposed arrangement. A concept image cannot establish the fixing or countertop support details.
A fitted island requires a resolved installation proposal for its particular construction and surface. Ask who confirms the support and fixing details. An illustrative image helps discuss appearance, but it does not replace product information or the assessment needed for the actual room.
- Cabinets: Identify the proposed units.
- Surface: Clarify countertop responsibility.
- Installation: Discuss the fixing arrangement.
A freestanding furniture piece and a fitted cabinet island are different products. Make clear which arrangement is being proposed. State the cabinet construction, support responsibilities and fitting tasks explicitly.
Keep a later island idea outside the current cabinet order
A perimeter cabinet project can acknowledge a future island without including it in the first order. Discuss how the stages relate.
If the island is a later possibility, define the current perimeter package without including it in the first order. Keep the finish references and possible junctions documented. A future option should remain distinguishable from components and work that have already been priced and accepted.
- Current work: Define the first cabinet package.
- Later option: Record the island concept separately.
- Coordination: Keep the finish direction documented.
A future idea is not an agreed installation stage. The current kitchen still needs a complete usable cabinet layout. Separate the ordered island work, if any, from options reserved for later.